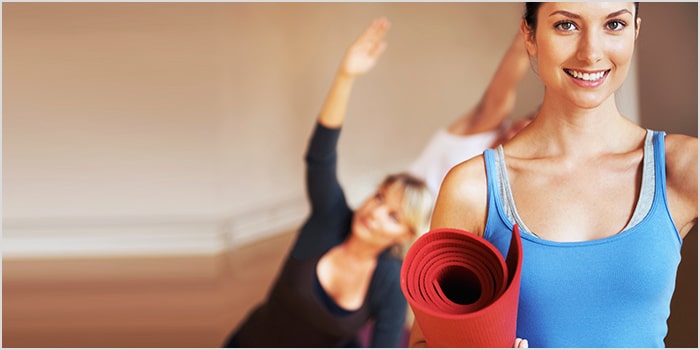

Upper back and neck pain can be quite debilitating and can cause a lot of loss productivity. It can be caused by a trauma or simply by poor posture. Our modern office jobs that require us to sit at a desk and type on a computer all day may be the cause of some people's pain. Nonetheless, good posture can be attained and strengthening the muscles of the upper back and neck is key. This post will show you the various yoga poses you can do to get rid of neck and upper back pain. But first, let's discuss the anatomy of your upper back and neck to see why you are having pain.
Anatomy of the Neck and Upper Back
Several muscles play a part in keeping the shoulders, upper back, and neck working in harmony. The trapezius muscle is a large, triangular shaped muscle that consists of three parts, and it is located on the back of the neck and over the shoulders. There are two of these muscles, one on either side, and their function is to support and move the shoulders and arms. The rhomboid muscles overlap the trapezius muscles and are largely responsible for the retraction of the scapula, or shoulders. The levator scapulae muscle lies on the sides of the neck, and its main function is to lift the scapula.
These muscles all work together to move the shoulders and support the neck. If any one of them is strained or painful, the entire area can be affected, causing neck, shoulder, and upper back pain. Good posture and using these muscles correctly in exercises can strengthen them, so they do not cause pain for your upper back and shoulders. Yoga is a good means of keeping these muscles healthy. Following are 8 yoga poses that may help strengthen and tone the muscles to help alleviate and avoid pain. Try using yoga for neck and upper back pain today.
Each pose is rated on a star system according to its difficulty and effectiveness in treating neck and upper back pain.
Whichever exercises you decide to do, do both sides.
Some of these poses do not focus specifically on the upper back or the neck but work on stretching the vertebrae column instead. Stretching the vertebrae column is also an important element in treating neck and upper back pain.
Caution: Some of these poses can stretch your legs (or other limbs) more than you are physically capable of. Do not feel like you have to stretch as far as the pictures. You will hurt yourself that way. Rather, the point of yoga is to stretch your muscles comfortably. So if you are unable to straighten your legs with some of these poses, bend your knees to a comfortable position. This goes for any of your other joints too.
Locust Pose / Salabhasana
Difficulty rating:
Effectiveness rating for neck and upper back relief:
Muscles Worked:
- Entire vertebrae column
- Neck
- Upper back
- Shoulders
Caution:
- Consult a doctor if you have an injury involving the vertebraes

This is the cme de la crme of all yoga poses for the neck, upper back, and shoulders. This pose has done the most for me in getting rid of acute discomfort in my neck and upper back.
Start by lying on your stomach on the floor. Slowly raise your head, shoulders, and chest off of the floor, using the muscles in your upper back to do so. You will be resting on your lower ribs, stomach, and pelvis, keeping the tops of your feet flat on the floor. Next, reach our hands back, parallel to the floor so that your fingertips almost touch each other. Gaze forwards or slightly up. Hold the position for 30 seconds to 1 minute.
Although binding your hand (like in the picture) is not required, it is give you a deeper stretch. Additionally, you can raise your legs too to stretch out your lower body. Here is a picture of the pose without hands being binded but with legs raised.

Reverse Warrior Pose / Viparita Virabhadrasana
Difficulty Rating:
Effectiveness rating:
Main Muscles/Joints Worked:
- Neck
- Hip openers
- Arms
- Upper back
Caution:
- Bend front leg only to point that is comfortable for you if you have knee problems
This is an excellent pose for the torso and neck and does a great job of opening the shoulders and chest.
Instruction: Start in Warrior II Pose (front leg bent close to 90 degrees and back leg straight). Bring the rear hand down to the back leg with the palm facing down. Turn the front palm facing upwards towards the sky. On an inhale, extend the front arm up towards the sky with the palm facing towards the back of the room. Keep your hips open and reach your heart upwards (towards the sky). Keep the back of your neck long and look up towards your front hand. Keep this pose for at least 30 seconds and return to Warrior II.
Bridge Pose/ Setu Bandha Sarvangasana
Difficulty rating:
Effectiveness rating:
Main Muscles/Joints Worked:
- Neck
- Vertebrae column
Caution:
- Consult a doctor if you have a medical problem related to the neck
Lay supine on the floor. Keep your shoulders firmly placed on the floor. Next, bring knees up and your feet backwards, placing them flat on the floor. Next, left your buttocks off of the floor, tightening the thigh muscles as a bridge is formed. Remember to keep your shoulders and head firmly pressed towards the floor. Hold the position for 30 seconds to one minute.
Cat-Cow pose / Marjaryasana-Bitilasana
Difficulty rating:
Effectiveness rating:
Main Muscles/Joints Worked:
- Neck
- Back
- Torso
Caution:
- Stretch the neck gently to avoid strains
Position 1

Position 2

This is a combination of two yoga poses; the cat pose and the cow pose. Start on your hands and knees in a tabletop position with your back as flat as possible. Then move into position 1 (cow pose) by pushing your belly and hips down to the earth with your head looking forward or slightly upward. Hold that for 30 seconds to 1 minute. Then, keeping your knees and shoulders in line, move into position 2 (cat pose). To do this, push the back upwards, rounding the back as much as you can. Tilt the head down, so the chin touches the chest. Hold for 30 seconds to 1 minute and return to the flattened back position. It doesn't really matter which pose you do first, the cat or the cow. All it matters is that you do both.
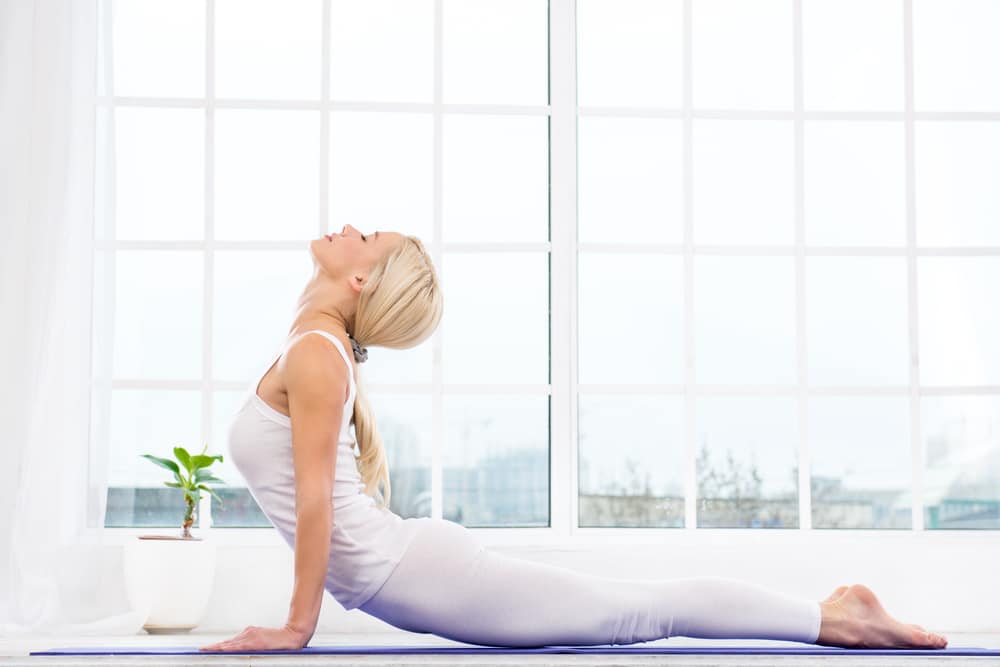
Cobra Pose / Bhujangasana
Difficulty rating:
Effectiveness rating:
Main Muscles/Joints Worked:
- Vertebrae column
- Shoulders
Caution:
- Consult a doctor if you have an injury involving the vertebrae
Start by lying on your stomach on the floor. The legs and the tops of the feet should be flat on the floor. Place your hands on the floor, even with your shoulders, and begin to straighten them as you bring the chest up, making sure that the feet, legs, and especially thighs remain flat on the floor. Once the arms are completely straightened, bring the head back slightly, keeping shoulders and arms in line. Hold this pose for 15 to 30 seconds.
Crane Pose / Bakasana
Difficulty rating:
Effectiveness rating for neck and upper back relief:
Main Muscles Worked:
- Shoulder/Scapula
- Core muscles
Caution:
- This is an advanced pose, do not try if you are not familiar with this pose

Start in a squatting position with your feet several inches apart. Bend slightly so that you can place your hands on the floor. Next, bring your thighs up next to your torso. Hug your thighs to your body as tight as you can. Place your knees as far forwards as you can, moving them towards your armpits. Balance your body as you slowly lift your feet from the floor. Hold your body up, balancing only on your hands. Hold this position for 20 seconds to 1 minute.
Dolphin Plank / Makara Adho Mukha Svanasana
Difficulty rating:
Effectiveness rating for neck and upper back relief:
Main Muscles Worked:
- Core muscles
- Shoulders
- Vertebrae column
Caution:
- Keep your back straight for full effect

Start by lying on the floor on your stomach. Press your elbows and forearms into the floor by your side and lift your shoulders so that they are directly above your forearms. Tighten the muscles in your shoulder blades. Keep your feet out straight behind you, toes on the floor, body lifted only on forearms and toes. Hold this pose for 30 seconds to 1 minute.
Revolved Triangle Pose / Parivrtta Trikonasana
Difficulty rating:
Effectiveness rating for neck and upper back relief:
- Vertebrae column
- Hips
- Legs
Caution:
- Do not keep your legs straight if you are not flexible
- Use yoga blocks if you are not able to touch the floor with your hands

Start with your feet 3ý to 4 feet apart. Raise your arms so that they are parallel to the floor with palms down. Actively stretch your arms out, stretching shoulder blades. Keeping your feet in line with each other, reach your right hand to the left foot while the left hand reaches towards the ceiling. Your head leans towards the floor. Hold the pose for 30 seconds to 1 minute then reverse the hands and start again.
Through yoga, you should find that you strengthen muscles and gain focus. You will begin to feel your muscles working together. As you strengthen and use the muscle groups properly, you should notice less pain. As always, remember to maintain good posture and listen to your body at all times. If something is painful, don't do it. Yoga should never be painful.
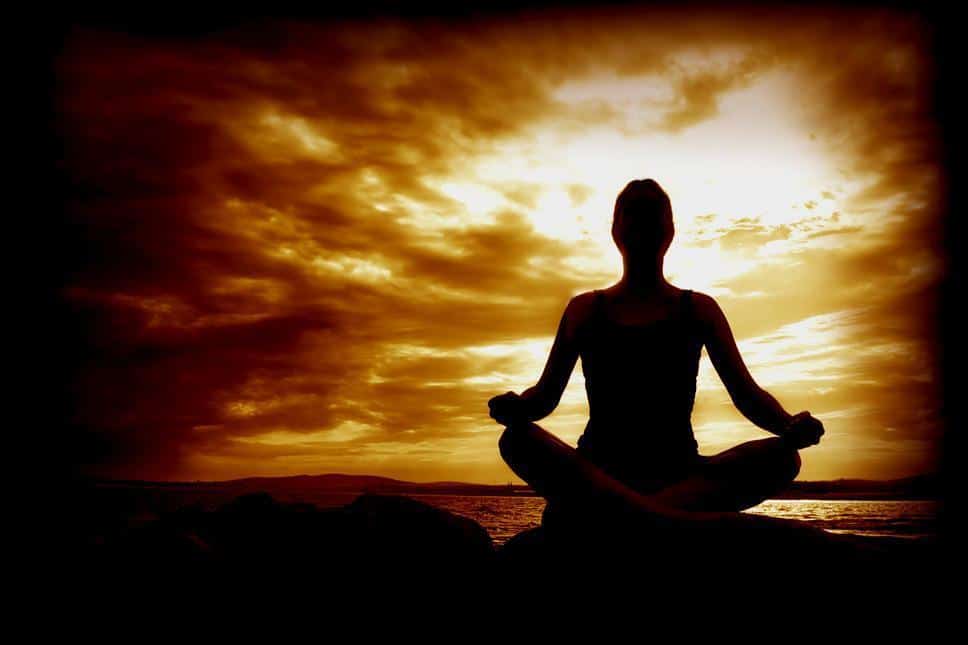
If you do yoga right, you will not only be able to reduce upper back and neck pain but you will also find it extremely relaxing.