
Although using a standing desk is healthy, it can also be expensive. The price for an entry level standing desk is more than $100 and the price for a high-quality one can run over $1,000. But don't worry, if you are on a budget, you can make a standing desk for next to nothing. There are a few ways to do this and some of it does not require you to buy anything new. In this post, I am going to talk about three ways to make your own standing desk out of a regular desk for very cheap, or even free.
Method 1 (table top method)
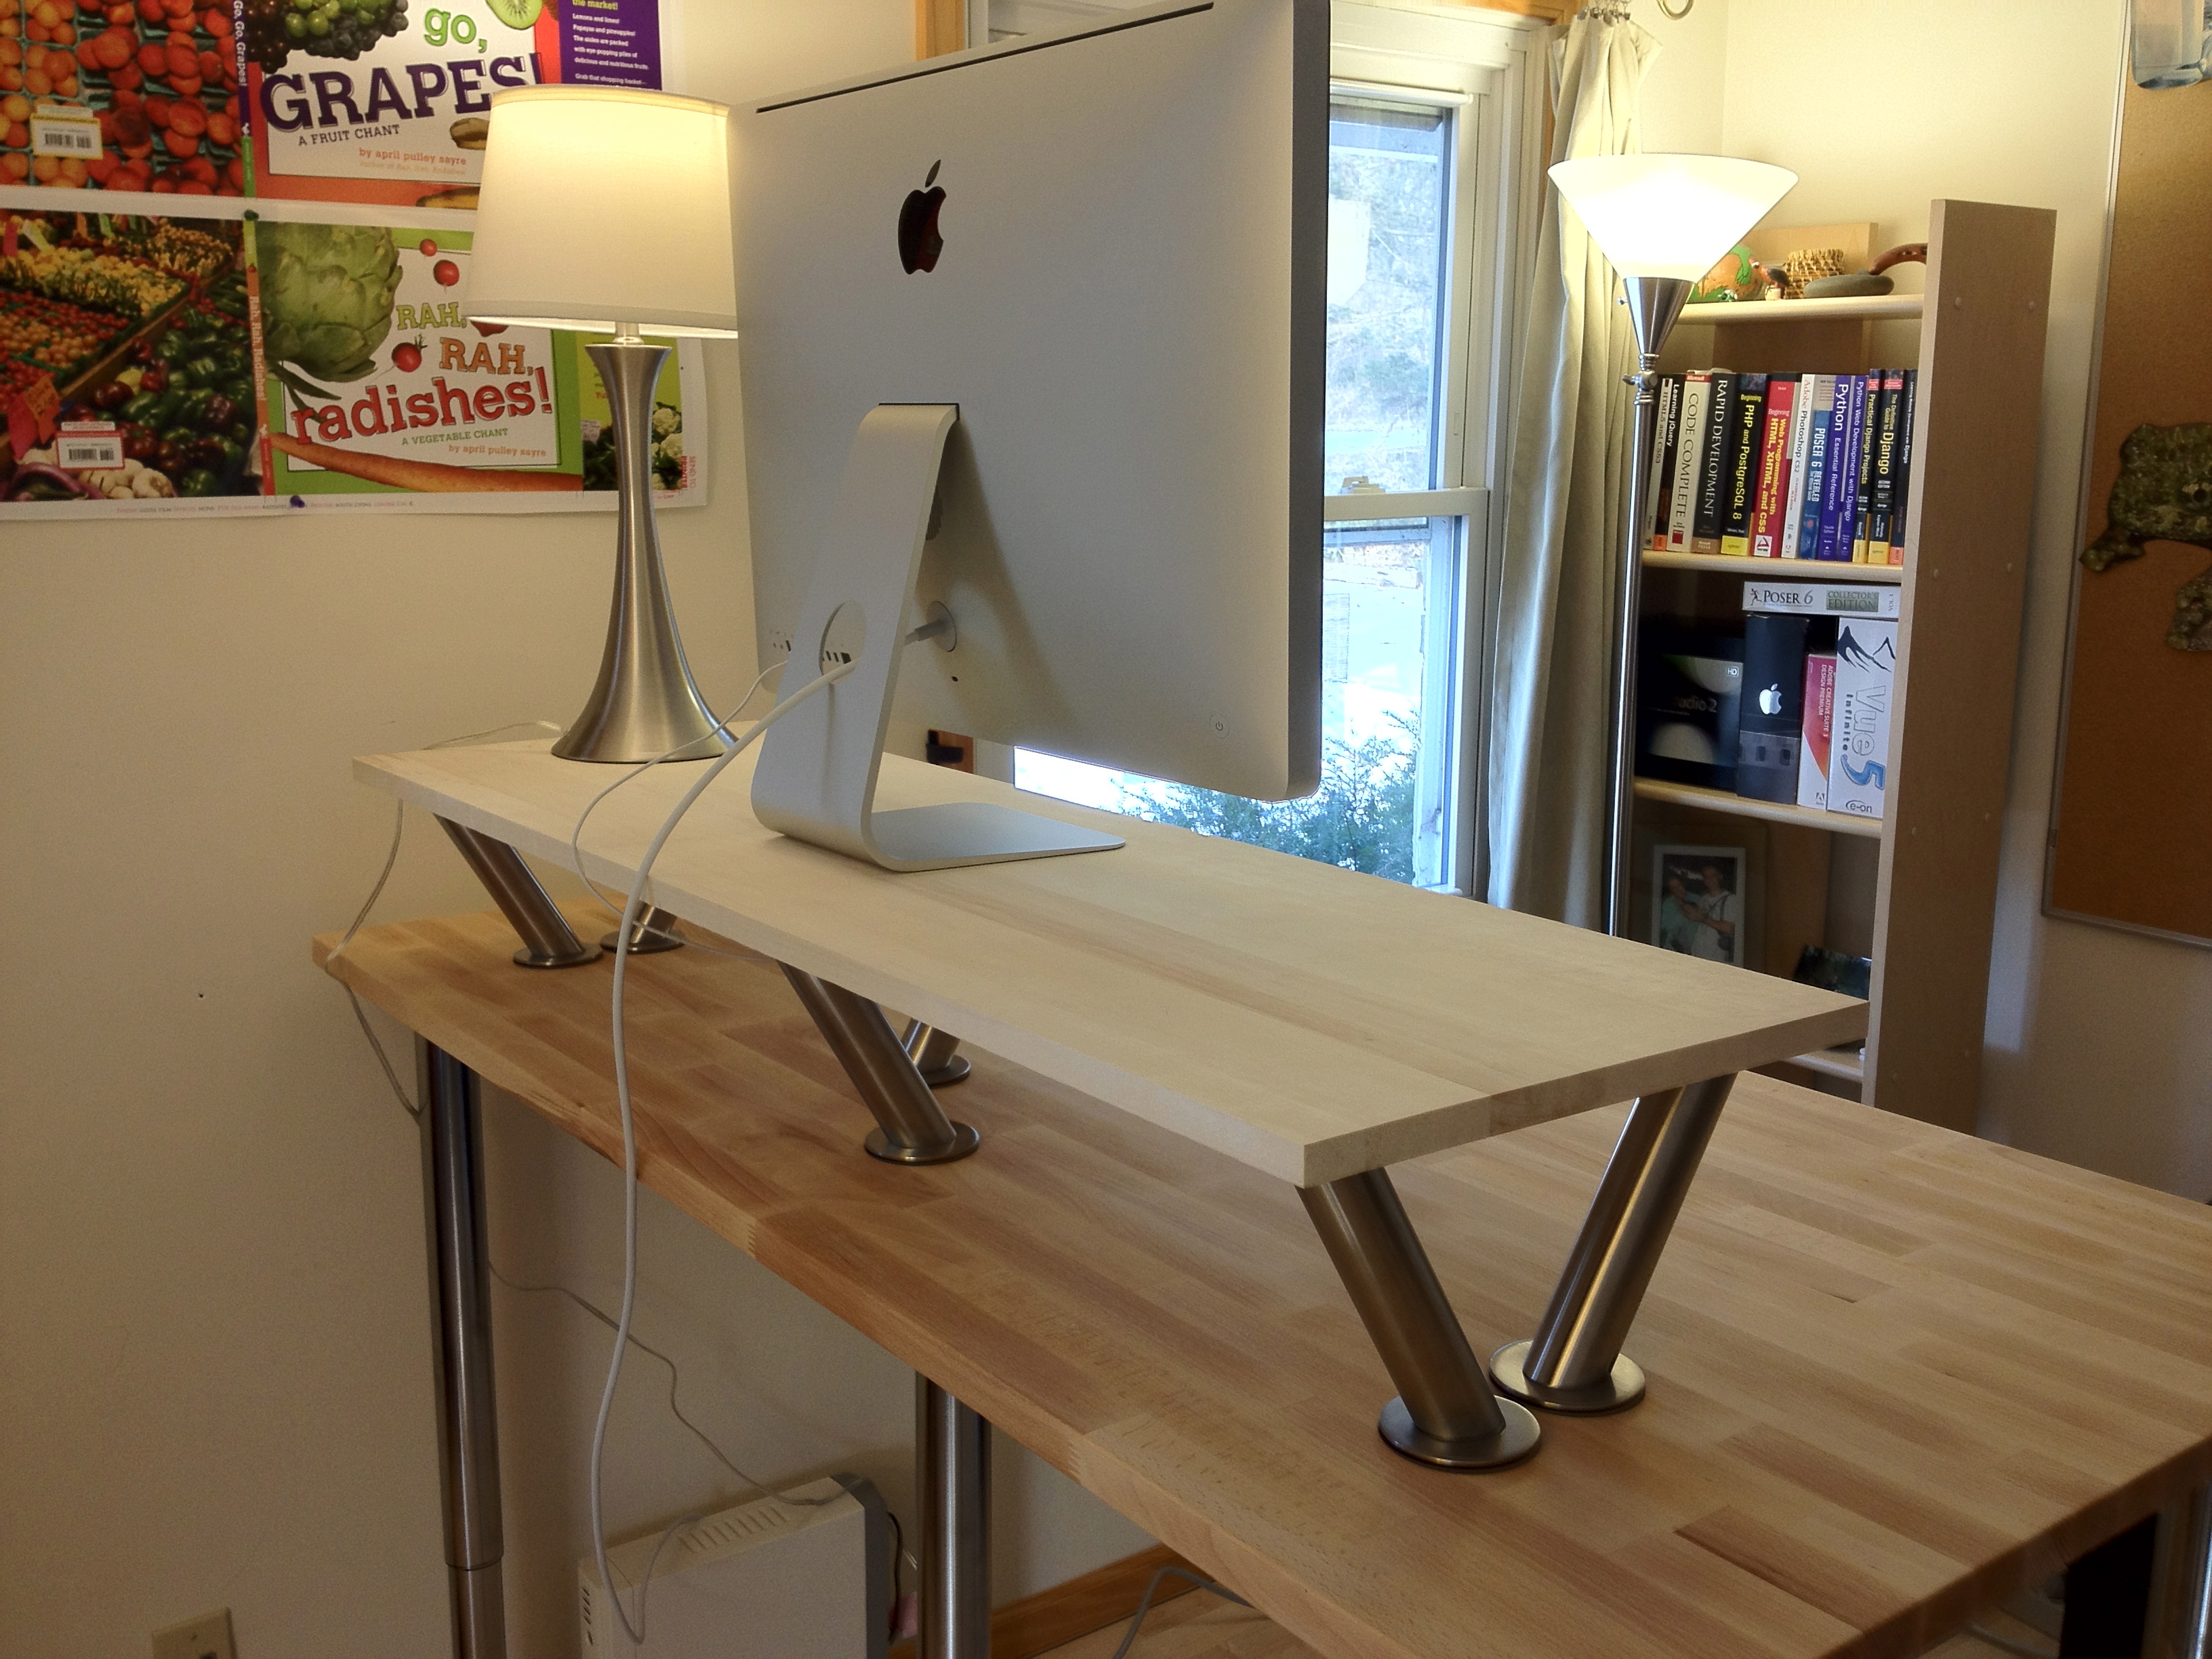
The first method will make use of a table top with modular legs. A good and cheap place to find the tools needed for the second method is Ikea (or Amazon). You will need a tabletop that will support the weight of your monitor(s) and four adjustable legs so that you can adjust the height of your table top to be at your preferred height. The cost of something like this should be around $20 to $40.
The good thing about this method is that you can find table tops that can match the color of your desk. Additionally, you have plenty of space underneath the tabletop to put things. Here is are a few examples of the method:


And then here is a more modern design of this method, using a clear table top with non-modular legs:
![]()
Method 2 (organizing shelf method)
This method will involves using a shelf organizer. You should use a unit without doors/drawers and no bigger than a nightstand. Once it is on your desk, you can use the unit as a storage compartment and use the surface of the shelf to put your monitor(s), keyboard, and mouse.
If you are doing this, you will need a unit with a lot of depth because you need the surface area to put all your stuff on (monitor, keyboard, mouse, etc). If you are just going to use a laptop then you don't need as much depth.
Here is an ideal shelf organizer for this method and it can be found on Amazon:

As you can see, this unit meets the criteria for having a lot of depth. If your unit is anything like the unit above, you will need to lay this shelf organizer horizontally on your desk because you will get more surface area that way and the height will be much more aligned with the height of a regular standing desk. Keep in mind if the unit is not as tall as the unit above (like this unit) and has enough surface area, you may not need to turn it horizontally.
The drawback to using the shelf organizer method is that the height is not quite as adjustable as method 1 and method 3. Additionally, the keyboard and mouse will be on the same platform as the monitor, which is not ideal from an ergonomic standpoint. The nice thing about this method though is that you have shelves to put stuff in. Again, this is just one example of an shelf organizer you can use.
When I did this (before owning my own standing desk), I used a 3-shelf organizer because it allowed much more space per shelf. The one shown above is a 6-shelf organizer.
Method 3 (free method)
This method is by far the cheapest option on the list and literally costs nothing. What you can do is is grab a bunch of books and stack them to put them on your desk. This works best if you have of textbooks lying around. Textbooks are sturdy and cover a large surface area. Stack the textbooks on top of one another until you get it to a decent height for your monitor(s). You can also do the same for your mouse and keyboard. They good thing about this method is that it is free. The drawback to this method is that it looks very....well...tacky. The other drawback with this method is that it takes up quit a bit of space. Once you stack the books, you lose a lot of the space, unlike the first or second method.
Here is an example of this method, although the picture doesn't use many textbooks:

Here is a cleaner and more organized picture of the setup:

Photo credit: https://www.ikeahackers.net/2013/02/galant-standing-desk-with-monitor-shelf.htmlÃÃ
Ideal Height for Standing Desk
Below is a picture of the ideal height for your newly converted standing desk:

The keyboard platform should be slightly below your elbow, the monitor should be 20-30 inches away from your eyes, and the monitor should be at least a few inches higher than the keyboard to prevent straining your neck. The easiest way to get the ideal position is to use the book method (method 3) because all you need to do to adjust the positioning is add or take away books. But if you don't have the ideal height and positioning, that's okay as long as your neck and shoulders don't get strained.
All these methods are great ways to convert your regular desk into a standing desk if you are not able to buy a full-fledged standing desk. These methods do not cost much and can be had for free if you have all this stuff lying around. But one thing I do suggest buying if you are going to convert your desk is to invest in a bar stool. That way, you can sit down and work when your legs are tired from all the standing. A regular chair won't be high enough for you to work once you are sitting down.